
Ultimate OBS Streaming Tutorial - Unlock Your Live Streaming Potential
Looking to elevate your live streaming game? This comprehensive OBS streaming tutorial will guide you step-by-step on how to set up, optimize, and broadcast professional-quality streams using OBS (Open Broadcaster Software). Whether you're a beginner or upgrading your current setup, this tutorial provides everything you need for a successful live broadcast.
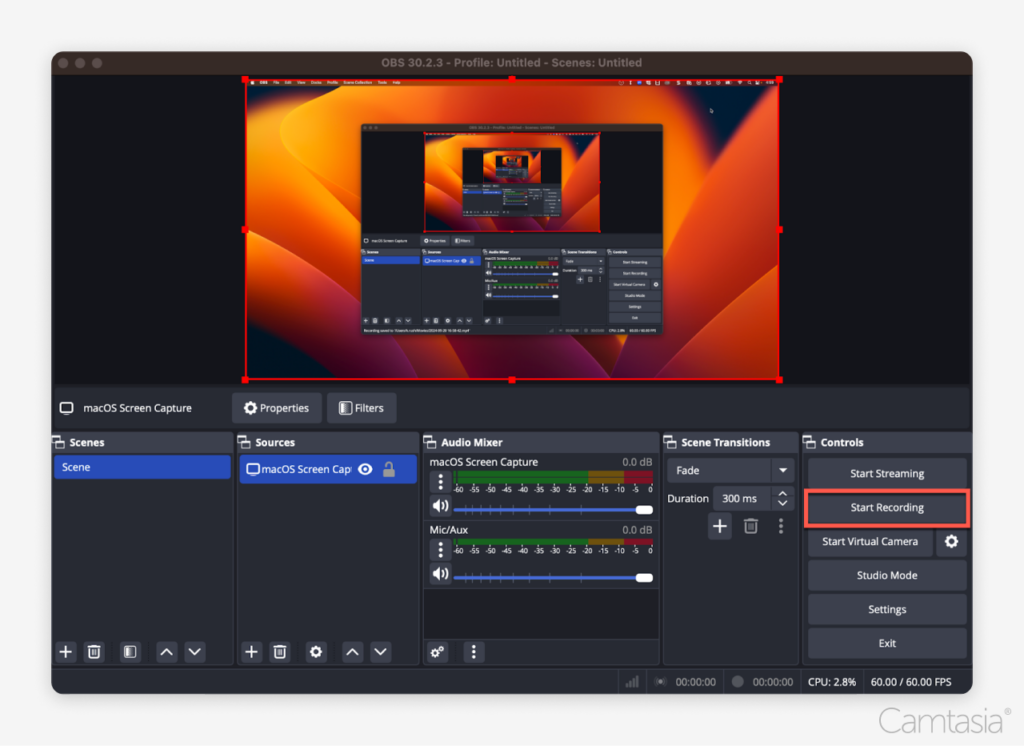
Obs streaming tutorial
Introduction to OBS and Why It’s a Popular Choice for Streamers

Before diving into technical details, it's essential to understand what OBS (Open Broadcaster Software) is and why it has become the go-to tool for streamers worldwide. OBS is a free, open-source software designed for video recording and live streaming, compatible with Windows, macOS, and Linux. Its versatile features, user-friendly interface, and extensive customization options make it ideal for beginners and seasoned broadcasters alike.
This tutorial aims to make the process straightforward by walking you through every stage—from installation to go-live — ensuring your streams are smooth, professional, and engaging.
How to Install OBS for Streaming
The first step in your OBS journey is installing the software. Downloading and setting up OBS is quick and simple.
- Visit the Official Website: Go to obsproject.com
- Choose Your Operating System: Download the appropriate version for Windows, macOS, or Linux.
- Install the Software: Follow on-screen instructions during setup.
- Run OBS: Launch the program and familiarize yourself with the interface.
Tip: Always keep OBS updated to access the latest features and security patches.
How to Configure OBS – Basic Setup for Streaming
Now that you have installed OBS, it's crucial to configure it for your streaming needs.
- Create a Scene: Think of scenes as different layouts or views—for example, your game, webcam, or overlays.
- Add Sources: Sources are the actual contents within your scene; these could include your game, webcam feed, images, or text.
- Set Up Audio: Adjust microphone and desktop audio levels to ensure clarity.
- Configure Settings: Go to Settings > Stream to connect your preferred streaming platform (Twitch, YouTube, Facebook).
This initial setup ensures your stream will run smoothly once live.
Step-by-Step: How to Stream Live with OBS – Five Key Paragraphs
1. Setting Up Your Streaming Platform and Stream Key
The first significant step is linking OBS to your streaming platform. Platforms like Twitch or YouTube require you to input a stream key.
- Find Your Stream Key: Log into your platform account, locate the dashboard or streaming settings, and copy your unique stream key.
- Input Stream Key in OBS: Open Settings > Stream > Service (select your platform), and paste your stream key.
Tip: Keep your stream key private; sharing it could compromise your channel.
2. Configuring Video and Audio Settings for Optimal Quality
To provide viewers with a top-notch experience, you need to optimize video and audio:
- Resolution & Frame Rate: Set your base ($1920x1080$) and output resolutions ($1280x720$ or higher), with frame rates at 30 or 60 FPS based on your hardware.
- Bitrate Settings: Adjust bitrate according to your internet upload speed. Generally, 4500-6000 kbps for 1080p at 60 FPS is recommended.
- Audio Levels: Use the mixer within OBS to balance your microphone and desktop audio, avoiding clipping or silence.
Special Tip: Use a wired internet connection for stability, and run speed tests to ensure your upload speed supports your chosen settings.
3. Adding Sources – Enhancing your Stream Layout
Sources add visual elements to your stream, making it more engaging:
- Game Capture: Capture gameplay directly.
- Window Capture: Record specific applications.
- Webcam: Add a live face cam.
- Images & Text: Overlay branding or informational banners.
- Audio Input Capture: Include your microphone.
Layer sources properly to create a balanced and professional layout.
4. Using Scenes and Transitions for a Dynamic Broadcast
Scenes and transitions enable you to switch views smoothly:
- Create Multiple Scenes: For intros, gameplay, intermissions, or chatting sessions.
- Set Up Transitions: Between scenes, choose effects like fade or cut.
- Hotkeys: Assign hotkeys for quick scene switching, facilitating seamless transitions during live streams.
This provides a polished presentation, keeping viewers engaged.
5. Going Live and Monitoring Your Stream
Before hitting “Start Streaming”:
- Run a Test Stream: Stream privately or to a backup account to check quality.
- Monitor Performance: Watch your stream using OBS or platform tools to ensure stability.
- Interact with Viewers: Use chat overlays and alerts for engagement.
Once satisfied, click “Start Streaming” and keep an eye on performance metrics to troubleshoot if needed.
Special Tips and Tricks for a Better OBS Streaming Experience
- Optimize Your Hardware: Use a dedicated streaming PC or allocate resources wisely, especially if gaming.
- Utilize Studio Mode: Preview scenes before transitioning live.
- Implement Overlays & Alerts: Enhance viewer interaction with notifications, goals, or chat alerts.
- Use Plugins & Add-ons: Extend OBS capabilities with custom plugins for emojis, effects, and more.
- Plan Your Content: Scripting or planning segments keeps the stream professional and engaging.
Key Facts You Should Know
| Fact | Description |
|---|---|
| Open-Source | OBS is free and open-source, supported by a community of developers. |
| Cross-Platform | Available for Windows, macOS, and Linux. |
| High Customization | Supports multiple sources, scenes, and overlays. |
| Low Latency | Designed for minimal delay, ideal for live interaction. |
| Compatibility | Compatible with Twitch, YouTube, Facebook Live, and other platforms. |
Understanding these facts helps you maximize OBS’s potential.
FAQs about OBS Streaming Tutorial
How do I troubleshoot buffering or lag issues during streaming?
Firstly, check your internet upload speed. Reduce your bitrate, lower resolution, or frame rate. Closing background applications can also free resources and improve performance.
Can I stream with a dual-PC setup using OBS?
Yes, a dual-PC setup allows one PC for gaming and another for streaming, reducing performance strain. Use capture cards or network sharing to connect scenes.
How do I add overlays or custom graphics to OBS?
Create or download overlay images (PNG format), then add them as Image sources within your Scenes. Customize size and position for best results.
What are the best settings for streaming at 1080p 60FPS?
Use a bitrate between 4500-6000 kbps, with a CPU preset like "faster" or "veryfast." Set resolution to 1920x1080 and frame rate to 60 FPS for high-quality output.
How can I improve audio quality in OBS?
Use a good-quality microphone, enable noise suppression filters, and adjust gain levels. Consider using a pop filter and acoustic treatments for your space.
Conclusion
This OBS streaming tutorial has provided a thorough guide on setting up and optimizing your live streams for quality and viewer engagement. From installation to live broadcasting, understanding key configurations like stream key setup, video, and audio settings, scene management, and performance monitoring ensures your streams will deliver a professional and seamless experience. By applying these insights, utilizing special tips, and troubleshooting common issues, you’ll be well-equipped to grow your streaming presence and entertain your audience effectively using OBS.